Hair extensions have been a transformative beauty solution for those looking to add volume, length, or a touch of glam to their natural locks. Among the various types of hair extensions, I-Tip hair extensions stand out as a top choice for their versatility, durability, and natural look. If you’ve been considering getting I-Tip extensions, or simply want to learn more, this comprehensive guide will walk you through everything you need to know—from what they are, how they’re applied, and maintenance tips, to how they compare with other popular hair extension methods.
What Are I-Tip Hair Extensions?
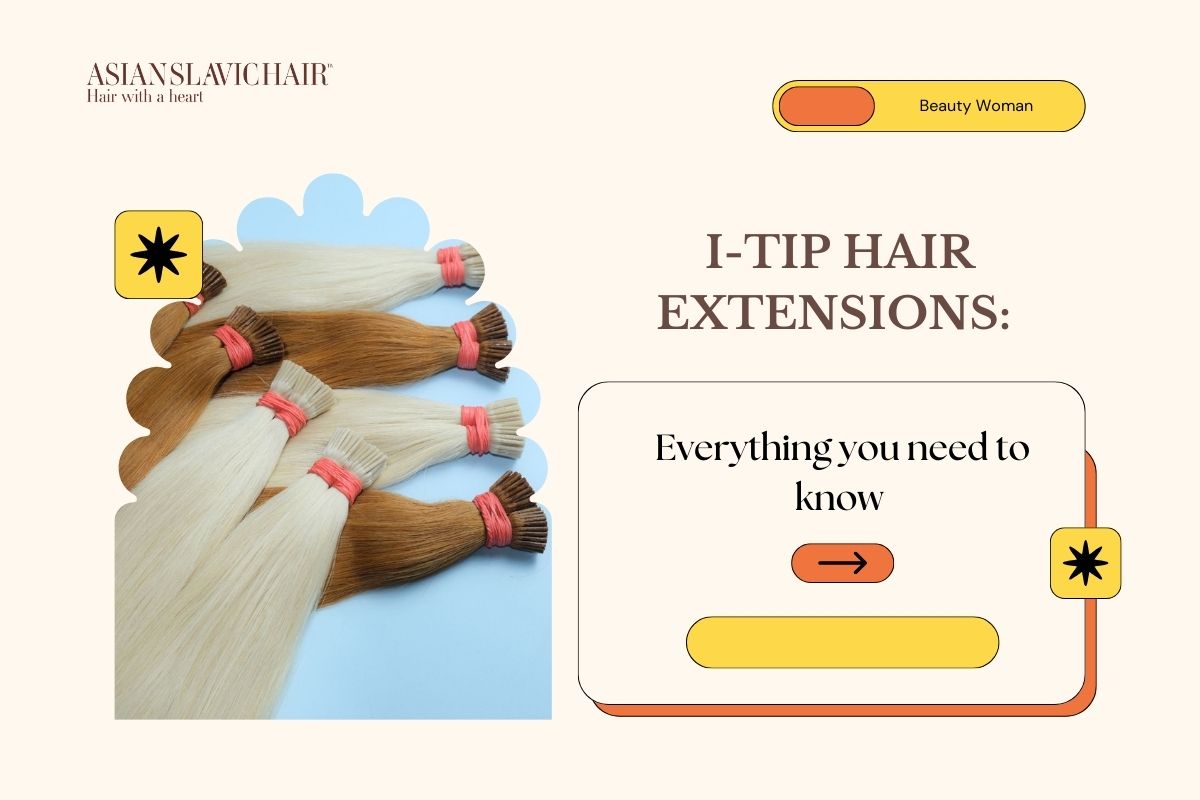
I-Tip hair extensions, also known as microbead or micro-link extensions, are a type of individual strand hair extension. They come with small keratin tips shaped like the letter “I,” which are secured to your natural hair using tiny metal or copper beads. These extensions do not require heat, glue, or adhesives for application, making them a much safer and healthier alternative for your natural hair compared to other extension types.
Key Features of I-Tip Hair Extensions
Non-Damaging: Since no glue or heat is used during the installation process, I-Tips are less likely to damage your natural hair.
Long-Lasting: With proper care and maintenance, I-Tip hair extensions can last between 3 to 6 months, making them a more durable option.
Natural Look and Feel: I-Tip extensions are applied in small sections, allowing them to blend naturally with your hair for a seamless finish.
Freedom in Styling: These extensions allow you to curl, straighten, and style your hair as usual, offering flexibility and creativity with your hairdo.
Understanding I-Tip Hair Extensions
How I-Tip Hair Extensions Are Applied
The application process for I-Tip hair extensions requires precision and professional expertise. Typically, the installation is carried out by a trained stylist. The process involves attaching individual strands of the I-Tip extensions to small sections of your natural hair using beads.
Here’s a step-by-step breakdown of the application process:
Preparing the Natural Hair: The stylist first washes, dries, and sections off your natural hair into small, manageable strands.
Inserting the I-Tip Extensions: Each I-Tip extension is threaded through a small metal or copper bead using a specialized loop tool.
Clamping the Bead: Once the I-Tip is in place, the bead is positioned near the root of your natural hair strand and is then clamped with a pair of pliers to securely lock the extension in place.
Repeating the Process: The process is repeated strand by strand across your entire head until the desired fullness and length are achieved.
Time Commitment
The installation process can take anywhere from 2 to 6 hours, depending on the number of strands being applied and the density of your natural hair. While this may seem time-consuming, the result is long-lasting, natural-looking extensions that blend perfectly with your own hair.
Maintenance Tips for I-Tip Hair
How to Maintain I-Tip Hair Extensions
Maintaining your I-Tip hair extensions properly will ensure they remain healthy, intact, and last as long as possible. Here are some essential care tips:
Brushing and Detangling: Use a loop brush or a wide-tooth comb to gently brush your hair, starting from the ends and working your way up to avoid tugging on the beads. Always brush in sections and be cautious around the root area to prevent pulling the extensions out.
Washing Your Hair: It’s crucial to use a sulfate-free, gentle shampoo that won’t strip the hair or cause the beads to slip. Focus on cleansing the scalp and roots without scrubbing the bead area. Always rinse thoroughly to avoid product buildup.
Conditioning: Apply conditioner to the mid-lengths and ends of your hair but avoid the roots and the beads. Too much conditioner near the bead area can cause slippage or loosen the extensions.
Drying: Air drying is the safest method, but if you need to use a blow dryer, always use the low heat setting to minimize the risk of bead damage or loosening.
Styling: You can use styling tools like curling irons, straighteners, or hot rollers on I-Tip extensions, but always apply a heat protectant spray beforehand to prevent heat damage.
Salon Maintenance
It’s recommended to visit your stylist for maintenance every 6 to 8 weeks. During these sessions, the stylist will check the integrity of the beads, tighten any that may have loosened, and re-position strands as your natural hair grows. This will ensure your extensions continue to look fresh and maintain their hold.
How Long Do I-Tip Hair Extensions Last?
With the right care, I-Tip hair can last 3 to 6 months. This durability makes them a long-term, cost-effective choice for anyone looking to add both length and volume to their natural hair. The lifespan of your extensions will largely depend on:
The quality of the hair: Virgin hair or 100% human hair extensions tend to last longer than synthetic hair.
Maintenance: Regular salon visits and proper home care will ensure the beads remain tight, the extensions stay secure, and the hair continues to look healthy.
How I-Tip Hair Extensions Are Applied
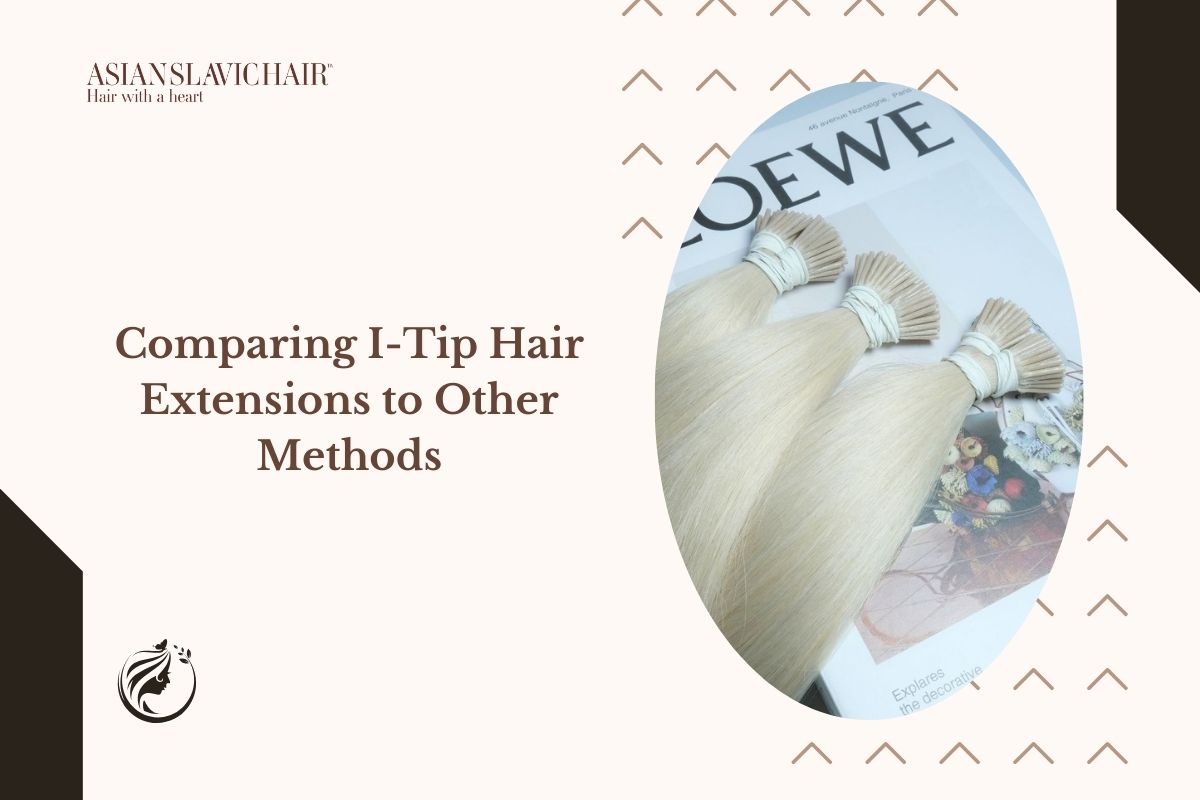
Comparing I-Tip Hair Extensions to Other Methods
If you’re unsure whether I-Tip hair extensions are the right choice for you, it’s helpful to compare them to other popular hair extension methods. Each method offers its own set of pros and cons, depending on your lifestyle and hair type.
I-Tips vs. Tape-In Extensions: Tape-in extensions are adhered to your hair using adhesive tape. While they are quicker to apply, they typically don’t last as long as I-Tips. They are also harder to style freely since the adhesive tape can show when the hair is pulled back or styled into updos.
I-Tips vs. Fusion Extensions: Fusion extensions are applied using heat to melt the keratin bond and attach the extension to your natural hair. While fusion extensions offer a long-lasting bond, the heat application process can cause more damage to your natural hair. I-Tips avoid this damage since they don’t require heat.
I-Tips vs. Clip-In Extensions: Clip-ins are easy to apply and remove, making them a great temporary option. However, they don’t offer the same natural look and feel as I-Tips, nor are they suitable for long-term wear. I-Tips provide a more permanent solution that allows for more natural styling.
Comparing I-Tip Hair to Other Methods
Common Mistakes to Avoid with I-Tip Hair Extensions
While I-Tip hair extensions are relatively low maintenance, there are a few mistakes to avoid to ensure they last as long as possible and remain in good condition:
Avoid Over-Oiling the Hair: Oils and serums are great for keeping hair smooth and shiny, but when used excessively, they can cause the beads to slip or loosen. Focus on applying oil to the mid-lengths and ends of the hair, avoiding the bead area.
Skipping Maintenance Appointments: Regular salon visits are essential for checking the beads and repositioning them as your hair grows. Skipping these appointments can lead to tangled roots or loose extensions.
Brushing Too Harshly: Brushing your hair too roughly or using the wrong brush can cause unnecessary tension on the beads, leading to slippage. Always use a gentle touch and an extension-friendly brush.
Choosing the Right I-Tip Hair Extensions for You
Choosing the best I-Tip hair extensions involves several factors, including the quality of the hair, the color, length, and texture. Here are some things to consider:
Hair Quality: Always opt for 100% human hair or virgin hair extensions. These are more durable and blend better with your natural hair.
Hair Color: If you can’t find an exact match to your hair color, consider purchasing extensions in a shade lighter and dyeing them to match your natural shade. This ensures a more seamless blend.
Length and Texture: Whether you’re going for long, straight locks or bouncy curls, make sure to choose extensions that match the texture of your natural hair for a more natural look.
Consult a Professional: Before making any decisions, consult with a professional stylist who specializes in extensions. They can help you choose the best type, length, and method based on your natural hair and desired look.
The Cost of I-Tip Hair Extensions
The cost of I-Tip hair can vary widely depending on the quality of the hair and the stylist you choose. High-quality, virgin human hair extensions will cost more but will last longer and provide a more natural look. On average, expect to pay between $300 and $800 for a full head of I-Tip extensions, including installation. Maintenance appointments every few months will also add to the overall cost.
Conclusion
I-Tip hair extensions are a fantastic choice for anyone looking to add length, volume, or both to their natural hair. Their application method is non-damaging, they offer long-lasting results, and they blend seamlessly with your natural hair for a natural, beautiful finish. With the right care and regular salon maintenance, you can enjoy stunning, voluminous locks for months. If you’re considering I-Tips, consult with a professional stylist to ensure you choose the best extensions for your hair type and lifestyle. By following this guide, you’ll be well-prepared to make the most of your I-Tip hair and enjoy beautiful, flowing locks.
Virgin Slavic hair has become synonymous with luxury, elegance, and unparalleled quality in the world of high-end fashion and luxury hairpieces. It is the...
Slavic hair extensions have become a cornerstone of the beauty industry, offering unmatched quality, natural appeal, and versatility. For those seeking a seamless and...