If you’re considering hair extensions, you’ve likely encountered several options, including U-Tip hair, I-Tip extensions, tape-ins, clip-ins, and sew-ins. Each method offers unique benefits, depending on your hair type, lifestyle, and personal preferences. Among them, U-Tip hair extensions, also known as fusion extensions, stand out for their natural look, durability, and long-lasting results. In this comprehensive guide, we’ll compare U-Tip hair extensions to other methods, helping you make an informed decision on which extension method is best for you.
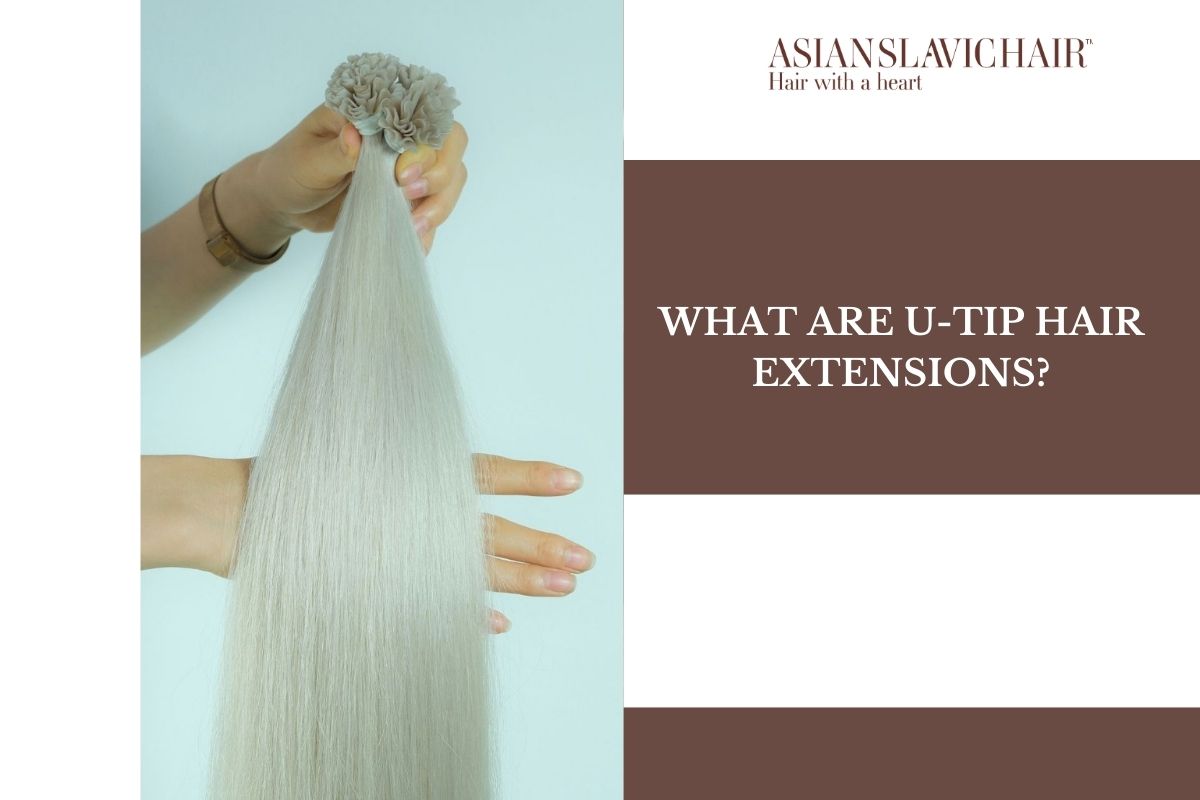
What Are U-Tip Hair Extensions?
U-Tip hair, often referred to as fusion or keratin bond extensions, are individual strands of hair that come with a U-shaped keratin tip. These tips are applied to your natural hair using heat, which melts the keratin bond, fusing the extensions to your strands. The keratin bond is designed to mimic the natural proteins in your hair, providing a strong, seamless, and long-lasting hold.
Key Features of U-Tip Extensions
Strong Hold: The heat application melts the keratin, creating a strong bond that lasts for several months.
Natural Look: The individual strands blend well with your hair, making the extensions virtually undetectable.
Semi-Permanent: With proper care, U-Tip extensions can last between 3 to 6 months.
Versatility: U-Tip extensions can be washed, curled, straightened, and styled just like your natural hair.
What Are U-Tip Hair Extensions
U-Tip Hair Extensions: The Application Process
Applying U-Tip hair requires precision and should always be done by a professional stylist. Here’s a step-by-step breakdown of how they’re applied:
Sectioning the Hair: Your stylist will first section your natural hair into small parts.
Inserting the U-Tip: Each U-Tip extension is positioned near the root of your natural hair.
Heating the Bond: Using a special heating tool, the stylist melts the keratin bond, attaching the U-Tip extension to your natural hair.
Blending: Once applied, the stylist blends the extensions with your natural hair to create a seamless look.
Average Application Time
The process of applying U-Tip extensions can take anywhere from 4 to 6 hours, depending on the number of strands and the thickness of your hair. While time-consuming, this method offers long-lasting, natural-looking results that are worth the wait.
Comparing U-Tip Hair Extensions to Other Popular Methods
While U-Tip hair extensions offer several advantages, it’s important to compare them to other popular hair extension methods to see how they measure up.
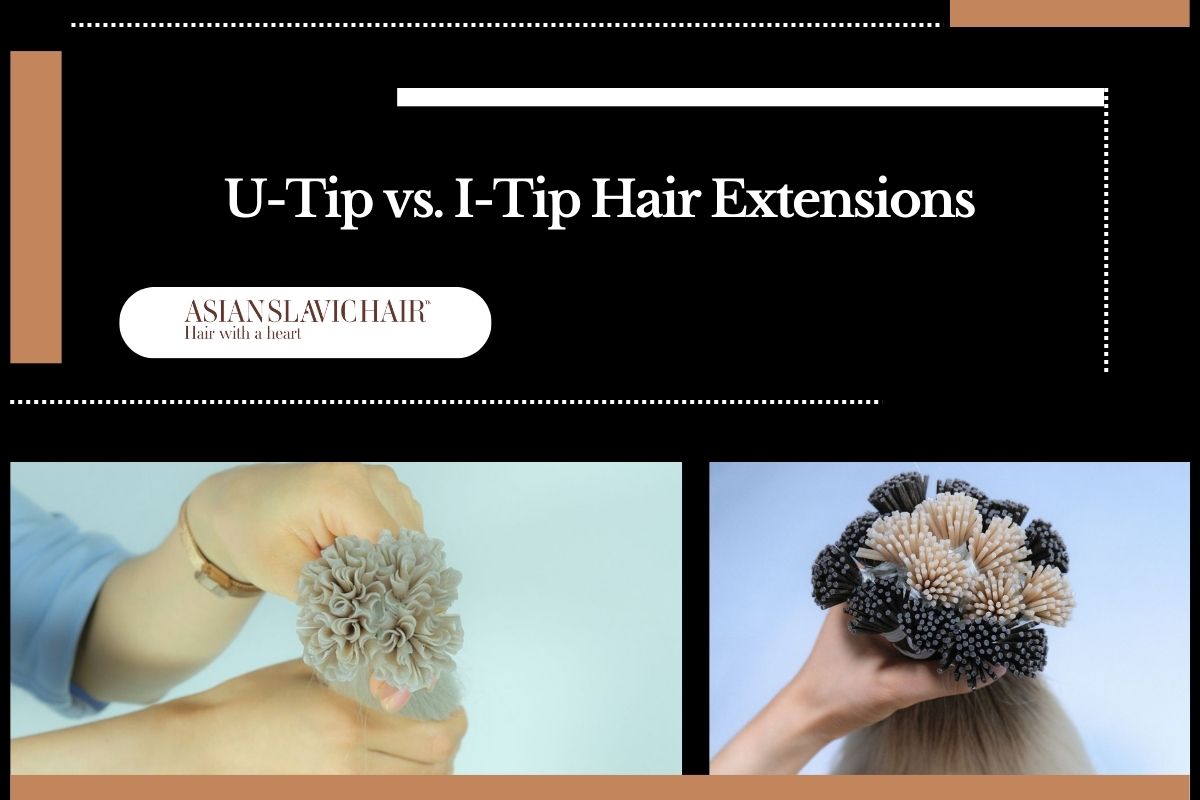
U-Tip vs. I-Tip Hair Extensions
I-Tip hair extensions are similar to U-Tips in that they are applied strand by strand, but they use a different attachment method. I-Tip extensions don’t require heat; instead, they are applied using small metal or silicone-lined beads that are clamped onto your natural hair.
Pros of I-Tip Extensions Over U-Tip
No Heat Application: I-Tips don’t require heat, reducing the risk of heat damage to your natural hair.
Easier to Remove: I-Tip extensions can be removed easily without the need for special tools or solvents, unlike U-Tips which require professional removal.
U-Tip vs. I-Tip Hair Extensions
Cons of I-Tip Extensions
Beads Can Be Visible: The small beads used to attach I-Tips may be more visible, especially in lighter or thinner hair.
Less Secure: I-Tips may slip out more easily than U-Tips, particularly if not applied correctly or maintained regularly.
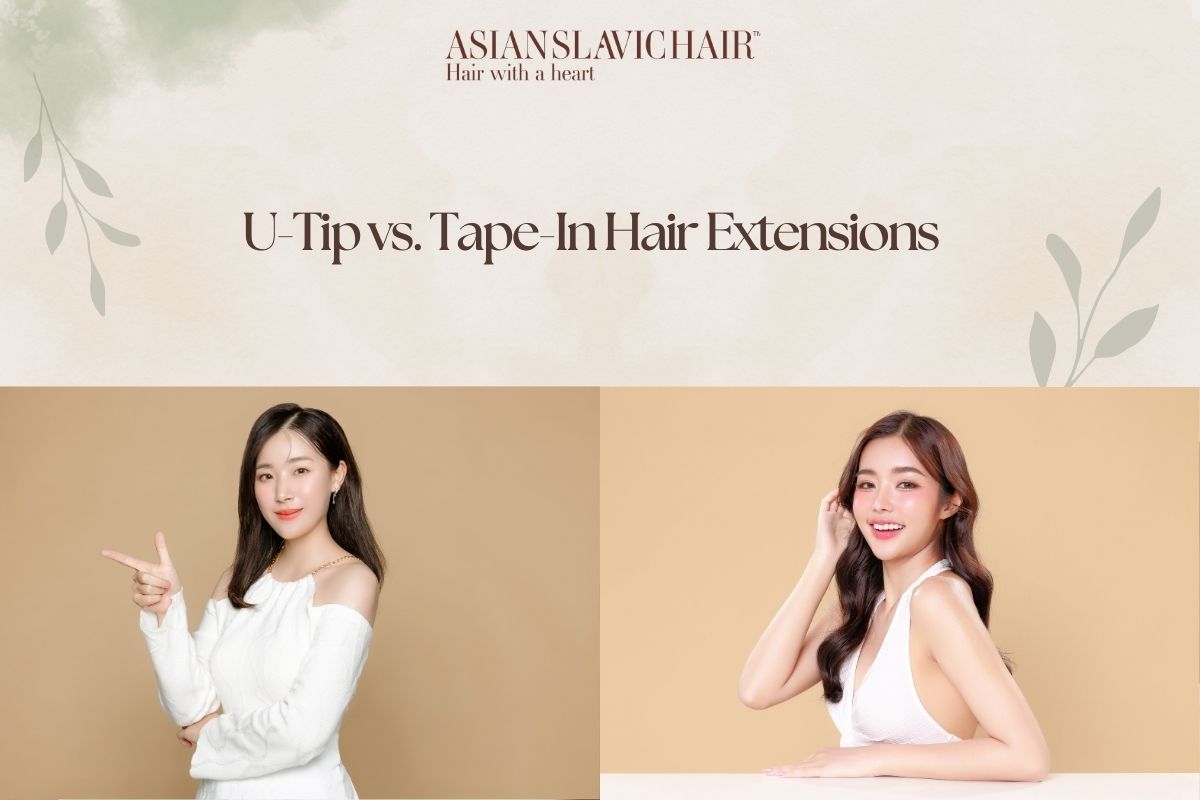
U-Tip vs. Tape-In Hair Extensions
Tape-in hair extensions are applied by sandwiching a section of your natural hair between two adhesive strips. They are a popular choice for their quick application time and lower cost.
Pros of Tape-In Extensions Over U-Tip
Quick Application: Tape-ins take less time to apply than U-Tip extensions, typically around 30 minutes to an hour for a full head.
Lower Cost: Tape-ins are generally more affordable than U-Tips, both in terms of initial application and maintenance.
Cons of Tape-In Extensions
Less Long-Lasting: Tape-in extensions usually last around 6 to 8 weeks before they need to be re-applied, whereas U-Tips can last up to 6 months.
Less Versatile Styling: Tape-in extensions may become visible if you wear your hair in high ponytails or intricate updos, making them less versatile than U-Tips.
U-Tip vs. Tape-In Hair Extensions
U-Tip vs. Clip-In Hair Extensions
Clip-in hair extensions are a temporary method that allows you to add length or volume for special occasions or daily use without committing to a semi-permanent solution. These extensions are applied by clipping the wefts into your natural hair.
Pros of Clip-In Extensions Over U-Tip
No Commitment: Clip-ins can be easily applied and removed, making them ideal for temporary use or special events.
No Professional Needed: Unlike U-Tips, clip-ins can be applied at home without the need for a professional stylist.
Cons of Clip-In Extensions
Temporary: Clip-ins need to be removed before sleeping, swimming, or showering, making them less convenient than semi-permanent methods like U-Tips.
Less Secure: Clip-in extensions may slip out or become loose throughout the day, especially if not properly secured.
U-Tip vs. Sew-In (Weave) Hair Extensions
Sew-in hair extensions, or weaves, are applied by braiding the natural hair and then sewing wefts of hair extensions into the braids. This method is often used for thicker, textured hair and provides a very secure attachment.
Pros of Clip-In Extensions Over U-Tip
Pros of Sew-In Extensions Over U-Tip
Extremely Secure: Sew-in extensions are one of the most secure extension methods, making them ideal for active lifestyles.
No Heat or Glue: Sew-ins don’t require heat or adhesive, reducing the risk of damage to your natural hair.
Cons of Sew-In Extensions
Uncomfortable Application: The tight braiding required for sew-ins can be uncomfortable and even painful, especially in the first few days after application.
Not Suitable for Fine Hair: Sew-in extensions are generally not recommended for fine or thin hair, as the weight of the extensions can cause breakage.
U-Tip vs. Micro-Loop Hair Extensions
Micro-loop hair extensions are similar to I-Tip extensions, but instead of using beads, they come with small loops already attached to the extensions. The loops are pulled through sections of your natural hair and then clamped in place.
Pros of Micro-Loop Extensions Over U-Tip
No Heat or Adhesive: Like I-Tips, micro-loop extensions don’t require heat or glue, reducing the risk of damage.
Quicker to Apply: Micro-loop extensions are quicker to apply than U-Tips, often taking only 2 to 3 hours.
Cons of Micro-Loop Extensions
Less Secure: Like I-Tips, micro-loop extensions can slip out if not properly maintained or installed, making them less durable than U-Tip extensions.
Advantages of U-Tip Hair
Advantages of U-Tip Hair Extensions
Now that we’ve compared U-Tip extensions to other popular methods, let’s highlight some of the reasons why you might choose U-Tips:
Natural Appearance: U-Tip blend seamlessly with your natural hair, offering a natural-looking finish that is hard to detect.
Long-Lasting Results: U-Tips offer one of the longest-lasting hair extension solutions, often lasting up to 6 months with proper care.
Strong, Secure Bond: The keratin bond created by the heat application provides a strong and durable hold, meaning fewer maintenance appointments and less chance of slippage.
Freedom in Styling: U-Tips allow you to style your hair in almost any way, including updos, braids, and curls, without worrying about the extensions being visible.
Suitable for Fine Hair: Unlike some methods that are not suitable for fine hair, U-Tips work well on most hair types, including finer textures, because the individual strands can be customized to blend with natural hair.
Potential Drawbacks of U-Tip Hair Extensions
Despite their many benefits, U-Tip hair do come with some drawbacks:
Application Time: The application process for U-Tip extensions is time-consuming, often taking 4 to 6 hours for a full head.
Requires Professional Removal: U-Tip must be removed by a professional, as attempting to remove them at home could cause significant damage to your natural hair.
Heat Application Risks: Since U-Tips are applied using heat, there’s a risk of damage to your natural hair if the process isn’t done by a skilled stylist.
Which Hair Extension Method Is Right for You?
When it comes to choosing between U-Tip hair extensions and other methods, the decision largely depends on your personal needs and hair goals. U-Tip extensions are perfect for those looking for a long-lasting, natural solution that provides strong, secure hold and versatile styling options. However, if you’re seeking a temporary option or have a tight budget, methods like clip-ins or tape-ins might be more suitable.
For those looking for a durable, semi-permanent solution, U-Tips stand out as one of the best options available. Always consult with a professional stylist to determine the best extension
Synthetic hair has become a popular choice for many people looking to experiment with their hairstyles without the commitment of altering their natural hair....
The beauty industry is always evolving, and hair extensions and wigs have become popular solutions for individuals seeking longer, fuller hair. When it comes...